
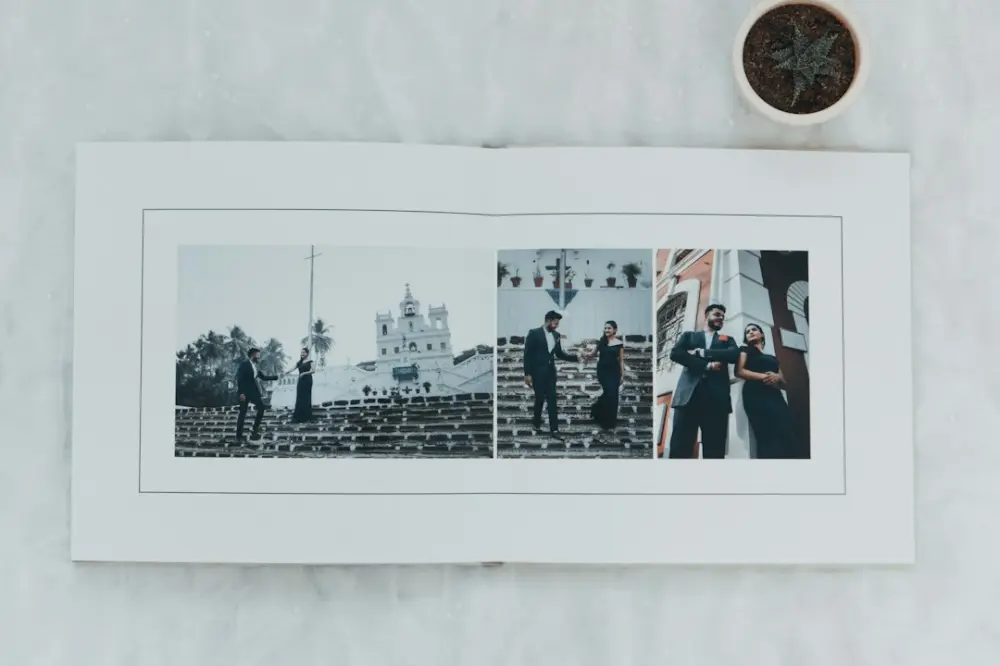
Visual narrative sequencing is the process of arranging images or events in a logical order to communicate a coherent story. It involves identifying the beginning, middle, and end of a plot, helping learners develop chronological thinking and reading comprehension. By connecting visual cues, creators and students build meaningful transitions and stronger communication skills.
Effective sequencing requires looking beyond individual aesthetics to the relationships between consecutive frames. Practically, this involves testing how the meaning of a photograph shifts when placed next to different neighbors. By experimenting with the Kuleshov effect, you can decide whether a transition should feel jarring to signal conflict or smooth to suggest a passage of time.
First Steps for Constructing Your Narrative
To transition from a collection of photographs to a structured story, you must approach your work with a curator’s eye. This involves evaluating how each frame contributes to the overarching theme rather than its individual merit.
- Start by selecting a single, cohesive theme or event to document, ensuring the scope remains manageable and focused.
- The first step is to lay out all potential images in a digital grid or physical space to observe the collective tonal range and color palette.
- To begin the flow, identify your strongest "anchor" image that defines the core emotion or the climax of the story.
- Next, arrange the supporting frames chronologically to establish a baseline logic before experimenting with more complex, non-linear pacing.
- Finally, review the transitions between each pair of images to ensure the visual language remains consistent and the narrative intent is clear.
Establishing Structure in Visual Storytelling
Creating a narrative flow requires a shift from taking pictures vs creative intention in image making. Instead of capturing disparate moments, the goal is to build a bridge between frames. This process often follows a specific structural logic to ensure the viewer remains oriented within the story.
- Establish the Environment: Start with a wide establishing shot that provides context. For example, if documenting a traditional craft workshop, the first image should show the entire room, the tools, and the light source.
- Introduce the Protagonist: Move to a medium shot that focuses on the individual. This establishes who the story is about and their relationship to the environment.
- Identify the Action: Use tighter shots to highlight the specific task or emotion. A close-up of hands working with clay or a face in deep concentration provides the "middle" of the narrative arc.
- Create a Visual Anchor: Repeatedly return to a specific color, shape, or subject to provide a sense of continuity throughout the sequence.
- Provide Resolution: Conclude with an image that suggests an ending or a new beginning, such as the finished object or the subject leaving the workspace.
Practical Exercises for Sequencing Mastery
Developing the ability to sequence requires hands-on practice. For educators or self-taught photographers, physical tools are often more effective than digital ones for the initial stages of learning. Using a set of printed 4x6 images allows for a tactile experience where the order can be shuffled and re-evaluated instantly on a tabletop.
One effective exercise involves using "silent storyboards." Provide a set of ten shuffled images from a single event and ask the learner to reconstruct the timeline. This forces an analysis of visual clues, such as the position of the sun, the progression of a task, or the changing expressions of a subject. Another resource is the use of contact sheets. Reviewing a full roll of film or a digital gallery in its original order helps identify the natural rhythm of a scene before the editing process begins.
Analyzing Wordless Books for Narrative Order
Wordless picture books are masterclasses in visual narrative sequencing. Because they lack text, the burden of storytelling rests entirely on the composition and the order of the pages. Analyzing these books helps creators understand how to manage pacing without verbal explanation.
- "The Arrival" by Shaun Tan: This graphic novel uses a sepia-toned, cinematic style to tell a complex story of migration. It is an excellent example of using small, repetitive frames to show the passage of time.
- "Tuesday" by David Wiesner: This book uses varying panel sizes to speed up or slow down the action, demonstrating how the scale of an image affects the narrative tempo.
- "Flotsam" by David Wiesner: This work excels at the "story within a story" technique, showing how sequences can be nested inside one another while maintaining a clear overall arc.
Digital Workflow for Sequential Narratives
While physical prints are helpful for brainstorming, digital tools offer the precision needed for final outputs. Software like Adobe Bridge or Lightroom’s Survey Mode allows for the side-by-side comparison of multiple images. This is essential for checking the color balance and tonal consistency across a series. If one image is significantly brighter or cooler than the rest, it can disrupt the narrative flow by drawing unnecessary attention to the technical shift.
When moving from concept to capture: the creative process often culminates in a digital layout. Using simple presentation software like Keynote or specialized book-design tools allows you to experiment with the "gutter"—the space between images. The size of this space can act as a pause or a breath in the story. In digital sequencing, the speed of a slideshow or the scroll-depth of a webpage also dictates how the viewer consumes the narrative, making technical timing as important as the images themselves.
Adapting Sequencing for Varied Perspectives
Not every student or creator processes visual information in the same way. Sequencing lessons should be adaptable to different cognitive styles. For beginners, it is often best to start with a "three-act" structure: a beginning, a middle, and an end. This simplifies the logic and prevents the learner from feeling overwhelmed by a large volume of images.
For more advanced practitioners, the challenge can be increased by introducing non-linear sequencing. This involves arranging images thematically rather than chronologically. For example, a sequence about an urban environment might be ordered by the intensity of light or the density of the crowd, rather than a specific time of day. Providing high-contrast images or tactile prints can also assist those with visual impairments or sensory processing differences, ensuring that the logic of the story remains accessible through clear shapes and distinct forms.
The Final Edit: Refining the Story
The integrity of a visual story depends on the honesty and logic of its sequence. It is not enough to have a collection of beautiful photographs; those photographs must work in service of a larger truth. Mastering this art requires a commitment to the craft of editing, where the creator learns to remove even the most striking images if they do not contribute to the narrative flow. This disciplined approach ensures that the final work is not just a gallery of shots, but a coherent piece of communication.
By focusing on the intentional arrangement of every frame, you move closer to the standard of visual storytelling championed by Santu Mofokeng. This site emphasizes that the creative process is a dialogue between observation and intent. Sequencing is the final stage of that dialogue, where the raw material of the world is shaped into a meaningful narrative that respects both the subject and the viewer. Through careful sequencing, the photographer’s vision becomes a shared experience, grounded behind the scenes power of a well-ordered story.